Create Items
Creating a new item in AnyDB is fast, flexible, and designed to work the way your team does. Whether you're starting from scratch or using a prebuilt template, this guide walks you through the process.
Step 1: Start from a Database
Before you create an item, make sure you're inside an existing Database. Each item belongs to a database, so it's important to start there.
To create a new item:
- Click the
+ New itembutton or the+icon next to the database name.

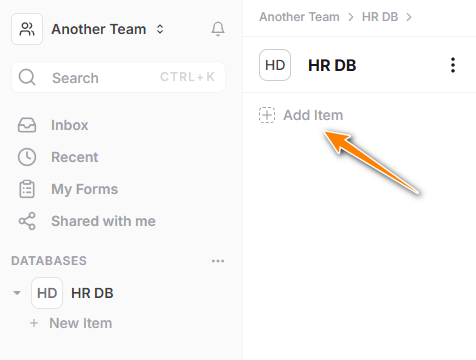
Alternatively, from the listing view of a database, click the + Add Item link at the top:
Step 2: Use the New Item Dialog
The New Item Dialog will appear, allowing you to choose how you'd like to create the new item.
You can:
- Browse the template list
- Search by typing a few letters from the template name or description
The dialog is organized into the following sections:
🔹 Core Items
These are the foundational item types in AnyDB:
- Item – A blank, fully customizable AnyDB item
- File – Upload and store documents or files
- Folder – Group related items into a folder
- Page – (Coming soon) Create standalone notes or documents
🔹 Recent
Quick access to templates you've recently used.
🔹 In Your Database
Shows templates created and saved within your current database.
🔹 Built-in Templates
Explore from a library of 100+ ready-to-use templates covering various business functions. These templates can be customized and saved as your own.
🔹 Community-Created (Coming Soon)
In the future, you’ll be able to browse templates shared by the AnyDB community.
Step 3: Select a Template
When you click on a template, you'll see:
- A preview of the item layout
- A description with key information
- A “Learn More” link that takes you to a full overview on the AnyDB template site
- An expand icon to view a larger version of the template preview
This helps you quickly confirm you're selecting the right structure for your new data.
Step 4: Create and Customize
Once you've selected your template, click to create the item.
The item will open immediately in editable mode. From here, you can:
- Fill in data
- Customize the structure further
- Add relationships, automation, or follow-up reminders
Your new item is now part of the database and ready to be used in workflows, dashboards, and reports.
Tips
- Search Smart – Use keywords to quickly locate templates.
- Customize Freely – Any template you select can be edited after creation.
- Save Your Own – After modifying an item, save it as a custom template for reuse.